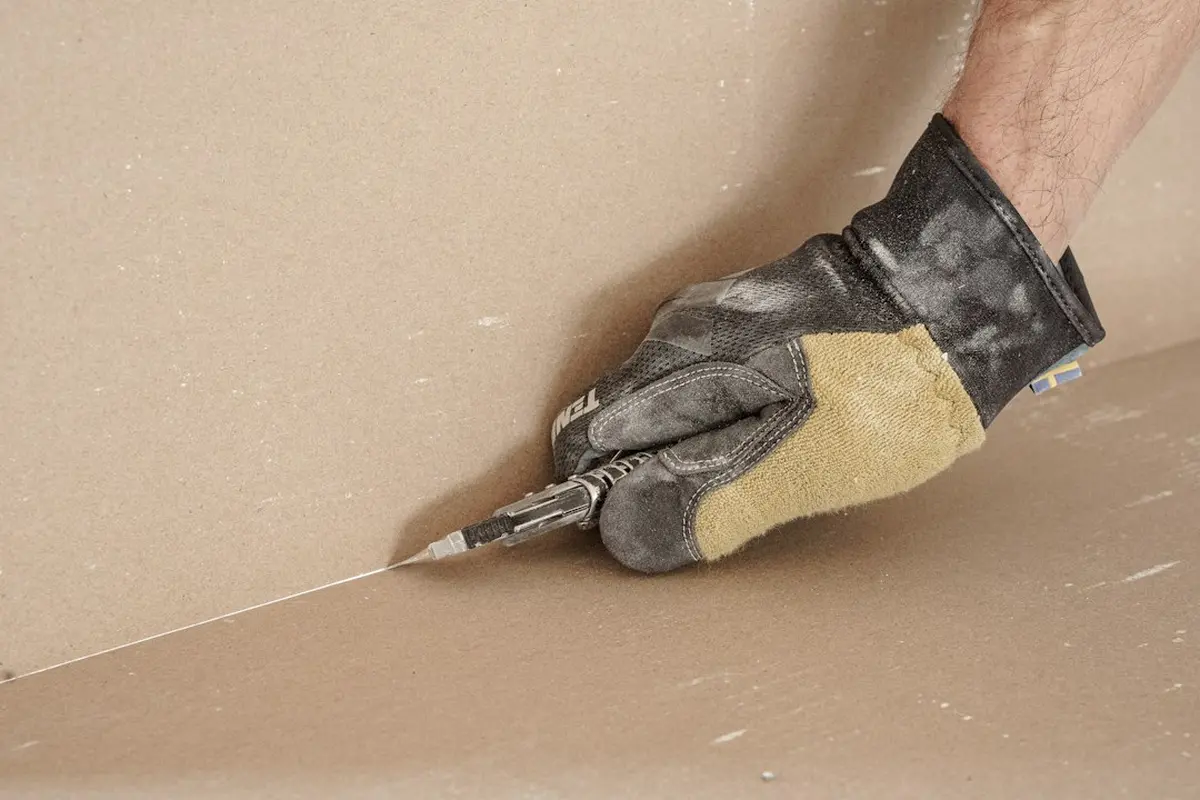
A beginner on the Postcrossing community forum cut themselves twice on their very first linocut. The advice from more experienced carvers had nothing to do with armor. It came down to three habits: keep the blade sharp, keep the free hand behind it, and pin the block down so it cannot move. This page reaches the same conclusion. A cut-resistant glove is worth owning, but it is there to catch the slip that gets through anyway. It does not stop the slip happening.
One thing to know before starting: nearly every cut comes from the hand holding the block, not the hand holding the tool. Everything below is arranged around getting that hand out of the way.
What the bench needs
-
A sharp cutter
A dull blade needs more force, and more force is what makes a blade slip. A wide handle puts less strain on the hand than a narrow one, according to [UMass Amherst Environmental Health & Safety](https://www.umass.edu/ehs/relief-and-other-printing).
-
A carving board or bench hook
This holds the block still so the free hand does not have to. The forum veteran pointed out that the printing museum they knew uses carving boards as standard practice.
-
One cut-resistant glove, for the holding hand
Check the rating on the ANSI/ISEA 105 scale, which runs from A2 to A9, with A9 the highest. Some gloves are rated under EN388 instead. A coated palm grips better: one recent glove roundup noted that uncoated knits can catch on fibers. Glove ratings are designed for general carving and kitchen work, not specifically for lino gouges.
-
A way to warm the lino
A hot water bottle, a heat gun, a hot plate or direct sunlight will all do.
The strongest objection to the glove is one carvers raise themselves. Woodcarving Illustrated notes that many skip gloves entirely because they cost dexterity and grip. That is a fair complaint, and it applies to the wrong hand. The tool hand needs dexterity. The holding hand only has to press down and stay put, so a glove costs it very little.
The steps
-
Warm the block
Lay a hot water bottle on it or pass a heat gun over it. If using a microwave, the forum's limit is 4 to 5 seconds, and the block will be hot to handle. It has worked when the blade moves through with noticeably less pressure.
-
Seat the block against the lip of the carving board
It has worked when a firm push with the tool does not move the block at all.
-
Put the glove on the hand that holds the block
It should fit snugly enough that the fingers can still press flat.
-
Place the holding hand beside or behind the tool hand
This is the core rule from the [University of Saskatchewan's Safer Printmaking guidance](https://research-groups.usask.ca/saferprintmaking/relief.php). It has worked when a straight line running forward from the blade crosses no fingers.
-
Hold the tool loosely
A tight grip is a risk factor for carpal tunnel syndrome, according to both UMass and Saskatchewan. The knuckles should not go white.
-
Push the blade away from the body
Use light pressure. If the blade jumps out of the groove, it will travel into empty air rather than into a hand.
-
Turn the block for curves instead of twisting the wrist
The block rotates on the board, and the cut always heads in the same safe direction.
-
Stop for a break every so often and flex both hands
UMass recommends regular rests with hand-flexing exercises during long carving sessions.
When the blade still gets through
With the block pinned, the holding hand out of the blade's path and the edge kept sharp, the glove has little left to do, and that is how it should be. Readers who have not yet bought a kit can avoid one problem from the start: some starter sets come with safety-guarded cutters and some come with traditional open gouges. It is worth checking which kind is in the box before the first cut.
Which starter kits come with a safer cutter?
The kit roundup goes through what a first linocut kit needs to include and how the cutters compare.
See the linocut starter kits
Comments
No comments yet. Be the first to comment!
Leave a Comment